


xzjv
Community Developer
- Joined
- Mar 17, 2014
- Messages
- 1,243
- Reaction score
- 46
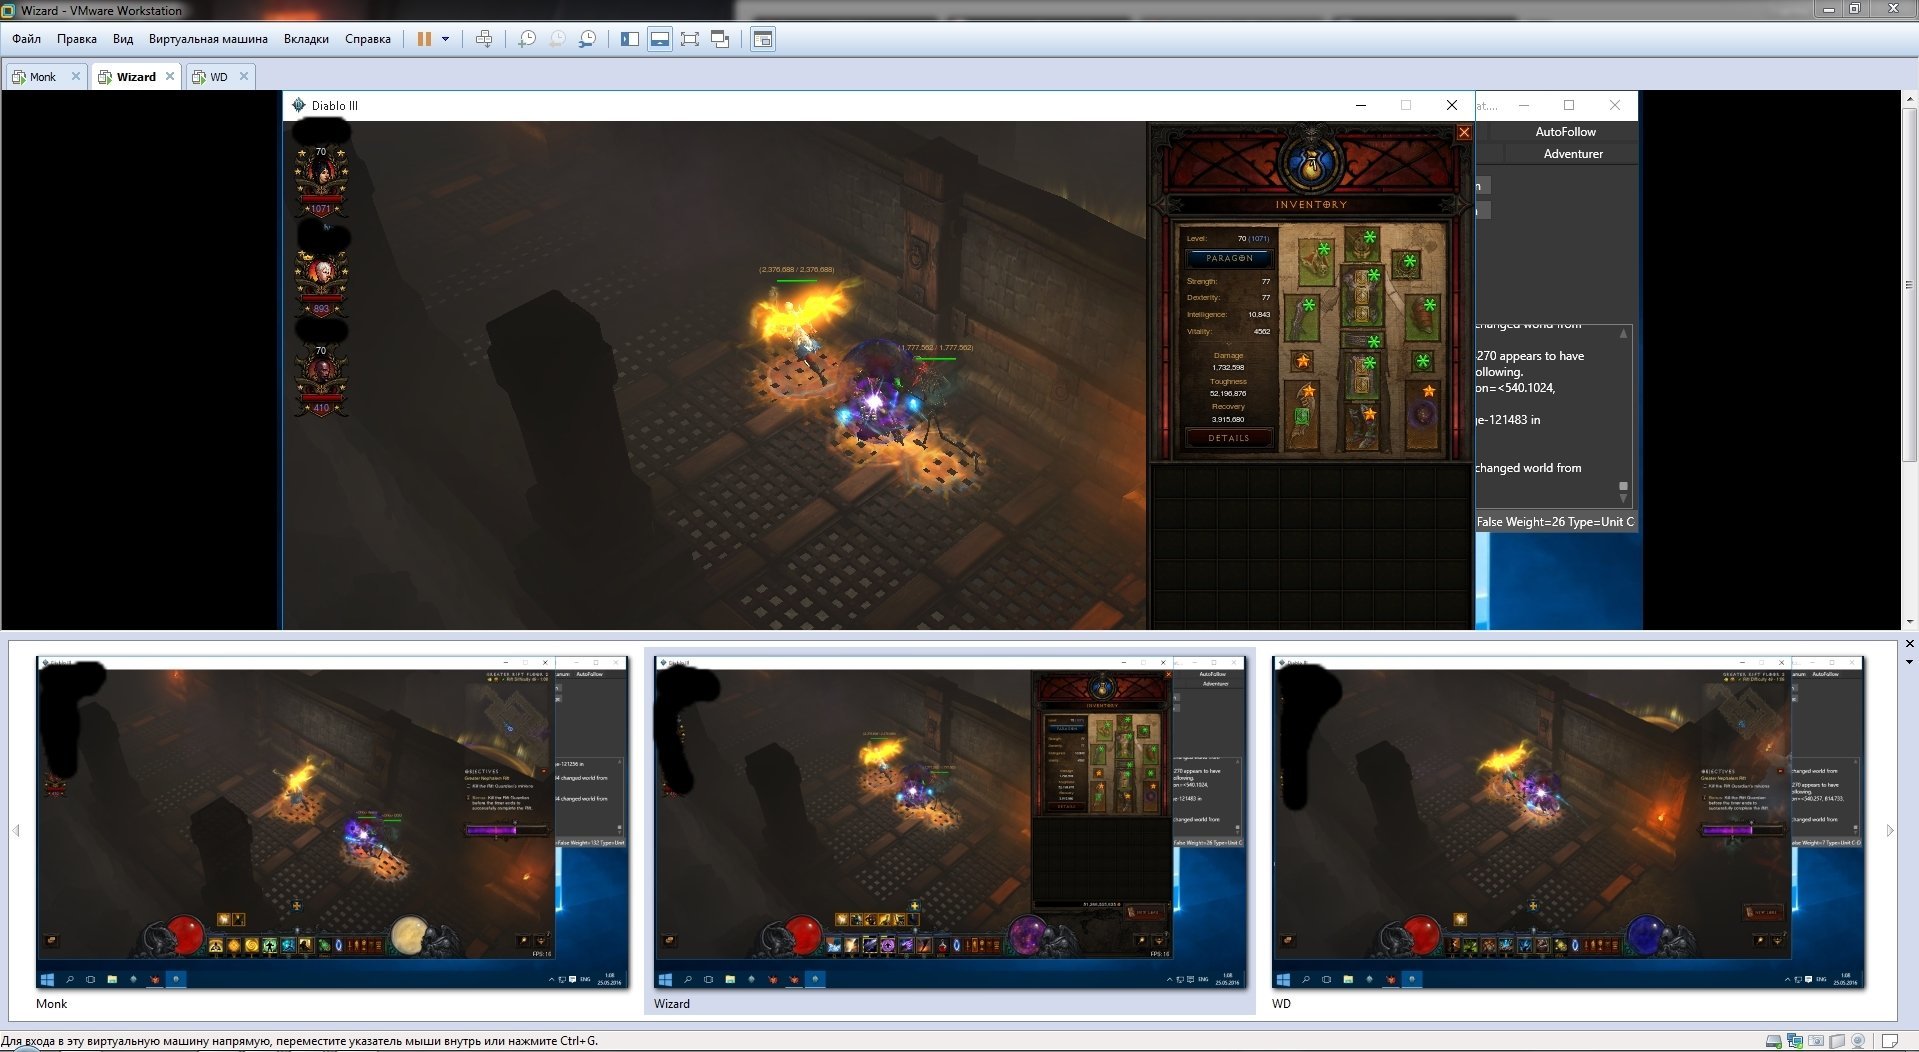
I have been putting this off for a while now and today I finally got around to it! This is a guide that walks you through how to run Diablo3(D3) and DemonBuddy(DB) within a virtual machine (VM) using VMWare and Windows10.
Requirements:
Steps:
1) Install VMWare Workstation 12 Pro
I am using VMWare Workstation 12 Pro, Version 12.0.1 build-3160714
You can find out more and purchase a copy here http://www.vmware.com/au/products/workstation/features.html
2) Create a New VM
Start VMWare and create a 'New Virtual Machine' from the File Menu. Follow the wizard, its pretty easy and you can leave most of the settings on the defaults. Some of these pictures may be out of order slightly.


Step: 'Guest Operating System Installation'
I chose to install the OS manually by selecting the option 'I will install the operating system later'. This was due to the particular .ISO file I am using having an issue. You may want to try the second option 'Installer disk image file' if you know what you're doing. Ultimately we just need the OS installed - however you get to that point doesn't matter.
Step: 'Name the virtual machine'
I recommend you make a folder to store all your VM related files. C:\VirtualMachines\ or something.
Step: 'Processor Configuration' / 'Memory of the Virtual Machine'
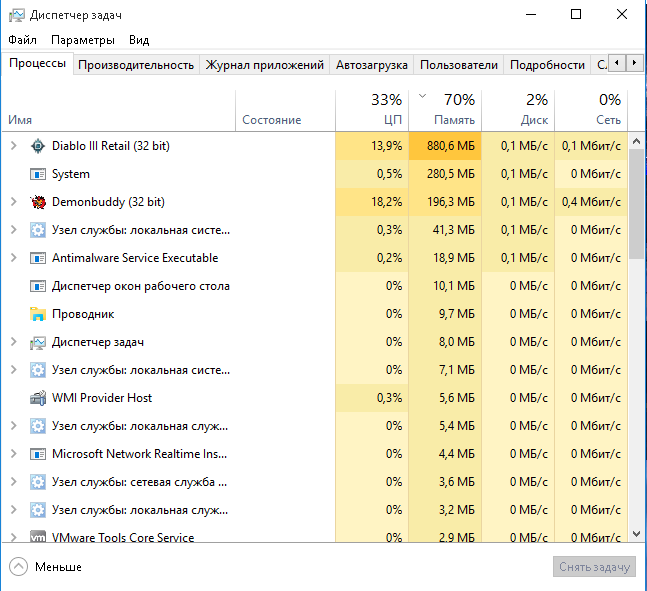
These settings depend on how fast your computer is and how many VMs you intend to have running. Consider your total system memory and figure out how much you need to split off for each machine. Diablo3 is going to be power hungry so you probably need to give it 1-2GB of RAM.
Step: 'Network Type'
Just leave it using NAT for networking, it will figure it all out for you.

Step: 'Select a Disk'
Each VM needs a disk, unless you have one prepared already you'll need to create a new virtual disk. Make it large enough to fit the OS and all the applications and games you intend to install.
2) Install Operating System
Now that you've created a blank VM, select it and click on 'Edit Virtual Machine'

Select CD/DVD (Sata) from the list and choose an ISO File containing your OS to install. Save/Close that window.

Click 'Power on this virtual machine' from main window.

Go through the process of installing the OS.

4) Configure the VM
Step: Install VMWare Tools
Once you're at the Windows10 desktop. Click the 'Install Tools' button from the yellow VMWare panel at the bottom of the screen. I don't know what these tools do but it seems useful. Go into File Explorer > This PC > DVD Drive and run the Setup. After installation it will prompt you to restart, do it.

Step: Create Shared Games Disk
Shut down the VM. From the menu VM > Power > Shutdown Guest, or click the dropdown icon in the toolbar.

then 'Edit Virtual Machine Settings'
then 'Add' button.


Once that is done you should now see a second drive in the list of devices:
Click OK to close the 'Virtual Machine Settings' window, then Power on the VM.
Now you're back at the Win10 Desktop, Search Start/Cortana for 'Disk' and select 'Create and format hard disk partitions'

Disk Management will detect the empty drive and ask you to Initialize it, so click OK with default selections.

Then right click on the empty drive and create a new simple volume. Step through the wizard with default selections.
The second drive is now ready to go!

Step: Make a way to access the host file system.
Now open the VM Settings (while the VM is still running is fine) from the Main Menu VM > Settings.
Click the 'Options' Tab and the select 'Shared Folders', Click 'Always Enabled', Click Add button and select a path on the host computer.
I would suggest you create a new folder 'C:\Virtual Machines\Shared\' and all your VMs can use it.
Alternatively, You could share your DB folder and D3 folder directly using this method. It might save you some time copying files around.
Once that is done, save/close and go back to the VM and you should see the new folders as network drives in explorer.

5) Getting DB and D3 to run.
Diablo3 will not run from a shared folder. Which means you have two options. Re-download the entire game using battle.net desktop app, or copy it to a local drive. And that is why we made the second hard disk (which can be shared for future VMs you might create).
Step: Copy over D3 and DB for the VM to use.
On the host, copy your Diablo3 folder into the shared folder and do the same with your DB folder. (skip this if you just shared your D3/DB folders).
On the VM, go into your Shared Folders in Explorer (probably 'Shared Folders Z:\\') and you should see the files.
Copy that stuff over to your shared games drive (for me this was called 'New Volume (E") '
'
Either:
a) Install the battle.net Launcher and then use the 'Locate Game' thing to point the launcher at the files (E:\Diablo III\). This method has the benefit of not requiring you to login every time. You can just click the play button and then you're in. It also will make it easy for you to update the game when a patch is required.
b) Create a launcher shortcut - goto E:\Diablo III\diablo III.exe, Right click > Create Shortcut. Right click on the shortcut > properties. and add -launch to the target. Then you might want to Drag it to the desktop. This method has the benefit of letting you run multiple instances of D3 at the same time. You can still use the -launch shortcuts in conjunction with the battle.net desktop app method A) above.
Make sure you install the C++ Distributable Package as mentioned here:
https://www.thebuddyforum.com/demonbuddy-forum/210799-beta-demonbuddy-beta-builds.html
DB will not run without it.
Requirements:
- Moderate to Advanced PC Skills
- Experience installing operating systems.
- VMWare Workstation 12 Pro
- Windows 10 ISO, Diablo3, DemonBuddy etc.
- Don't even try this if you have a terrible computer
Steps:
1) Install VMWare Workstation 12 Pro
I am using VMWare Workstation 12 Pro, Version 12.0.1 build-3160714
You can find out more and purchase a copy here http://www.vmware.com/au/products/workstation/features.html
2) Create a New VM
Start VMWare and create a 'New Virtual Machine' from the File Menu. Follow the wizard, its pretty easy and you can leave most of the settings on the defaults. Some of these pictures may be out of order slightly.


Step: 'Guest Operating System Installation'
I chose to install the OS manually by selecting the option 'I will install the operating system later'. This was due to the particular .ISO file I am using having an issue. You may want to try the second option 'Installer disk image file' if you know what you're doing. Ultimately we just need the OS installed - however you get to that point doesn't matter.


Step: 'Name the virtual machine'
I recommend you make a folder to store all your VM related files. C:\VirtualMachines\ or something.


Step: 'Processor Configuration' / 'Memory of the Virtual Machine'
These settings depend on how fast your computer is and how many VMs you intend to have running. Consider your total system memory and figure out how much you need to split off for each machine. Diablo3 is going to be power hungry so you probably need to give it 1-2GB of RAM.


Step: 'Network Type'
Just leave it using NAT for networking, it will figure it all out for you.


Step: 'Select a Disk'
Each VM needs a disk, unless you have one prepared already you'll need to create a new virtual disk. Make it large enough to fit the OS and all the applications and games you intend to install.


2) Install Operating System
Now that you've created a blank VM, select it and click on 'Edit Virtual Machine'

Select CD/DVD (Sata) from the list and choose an ISO File containing your OS to install. Save/Close that window.

Click 'Power on this virtual machine' from main window.

Go through the process of installing the OS.
- Make sure you do a 'Custom' Install, upgrade wont work.
- Create new partition using all available space.

4) Configure the VM
Step: Install VMWare Tools
Once you're at the Windows10 desktop. Click the 'Install Tools' button from the yellow VMWare panel at the bottom of the screen. I don't know what these tools do but it seems useful. Go into File Explorer > This PC > DVD Drive and run the Setup. After installation it will prompt you to restart, do it.

Step: Create Shared Games Disk
Shut down the VM. From the menu VM > Power > Shutdown Guest, or click the dropdown icon in the toolbar.

then 'Edit Virtual Machine Settings'
then 'Add' button.


Once that is done you should now see a second drive in the list of devices:

Click OK to close the 'Virtual Machine Settings' window, then Power on the VM.
Now you're back at the Win10 Desktop, Search Start/Cortana for 'Disk' and select 'Create and format hard disk partitions'

Disk Management will detect the empty drive and ask you to Initialize it, so click OK with default selections.

Then right click on the empty drive and create a new simple volume. Step through the wizard with default selections.

The second drive is now ready to go!

Step: Make a way to access the host file system.
Now open the VM Settings (while the VM is still running is fine) from the Main Menu VM > Settings.
Click the 'Options' Tab and the select 'Shared Folders', Click 'Always Enabled', Click Add button and select a path on the host computer.
I would suggest you create a new folder 'C:\Virtual Machines\Shared\' and all your VMs can use it.
Alternatively, You could share your DB folder and D3 folder directly using this method. It might save you some time copying files around.


Once that is done, save/close and go back to the VM and you should see the new folders as network drives in explorer.

5) Getting DB and D3 to run.
Diablo3 will not run from a shared folder. Which means you have two options. Re-download the entire game using battle.net desktop app, or copy it to a local drive. And that is why we made the second hard disk (which can be shared for future VMs you might create).
Step: Copy over D3 and DB for the VM to use.
On the host, copy your Diablo3 folder into the shared folder and do the same with your DB folder. (skip this if you just shared your D3/DB folders).
On the VM, go into your Shared Folders in Explorer (probably 'Shared Folders Z:\\') and you should see the files.
Copy that stuff over to your shared games drive (for me this was called 'New Volume (E
'

Either:
a) Install the battle.net Launcher and then use the 'Locate Game' thing to point the launcher at the files (E:\Diablo III\). This method has the benefit of not requiring you to login every time. You can just click the play button and then you're in. It also will make it easy for you to update the game when a patch is required.
b) Create a launcher shortcut - goto E:\Diablo III\diablo III.exe, Right click > Create Shortcut. Right click on the shortcut > properties. and add -launch to the target. Then you might want to Drag it to the desktop. This method has the benefit of letting you run multiple instances of D3 at the same time. You can still use the -launch shortcuts in conjunction with the battle.net desktop app method A) above.

Make sure you install the C++ Distributable Package as mentioned here:
https://www.thebuddyforum.com/demonbuddy-forum/210799-beta-demonbuddy-beta-builds.html
DB will not run without it.

Last edited: